When I was scouring the internet to find examples and tutorials for Boutis, I read articles supporting both sides of the “to hoop or not hoop” debate: some said you should use a hoop when stitching the Boutis design, others said you should not since it made it harder to make the multi-stab stitches. So, I did my own experiment, and my conclusion is: Yes – I will hoop.
Here how I created a prototype top, and the results of my experiment.
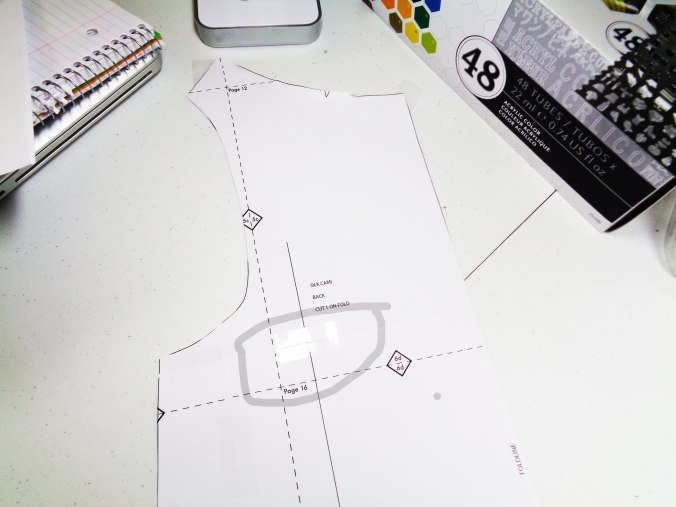
- I downloaded the PDF pattern from Sew Over It . They have a wide variety of patterns, super cute – and since they are available as PDF you can shop online then start sewing within minutes…brilliant!. Here is an image of the pattern I used (supah-simple!):

- After printing the 20 PDF pages, I assembled them with tape as instructed and then cut out each pattern piece. On this image I circled a specific part of the pattern where you can see the how the pages are taped together.
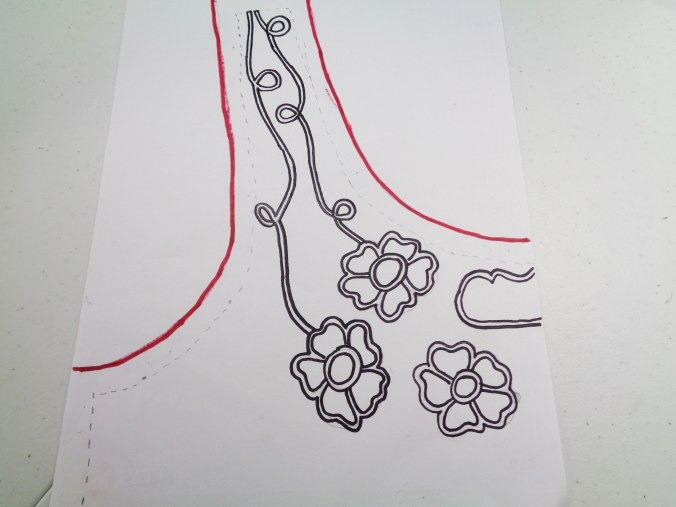
- I then made a template for the Boutis design, making sure the design wouldn’t hit the stitch line. I wanted this version to be extra simple since I knew this would be throw-away work:
- After transferring the design onto my batiste fabric, I sewed the left-side of the design with a hoop and the right-side without a hoop. Here is a full view of the prototype. Notice how the fabric is embellished BEFORE cutting so that I can adjust for the Boutis.
 Here is a close-up of the left side:
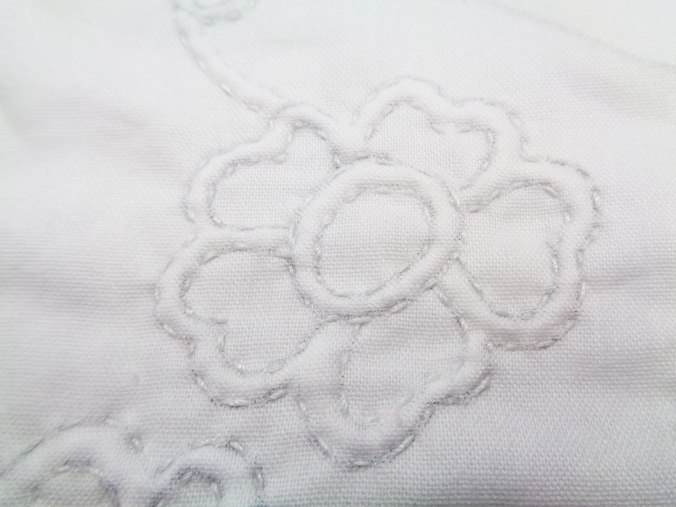 …and a close-up of the right:
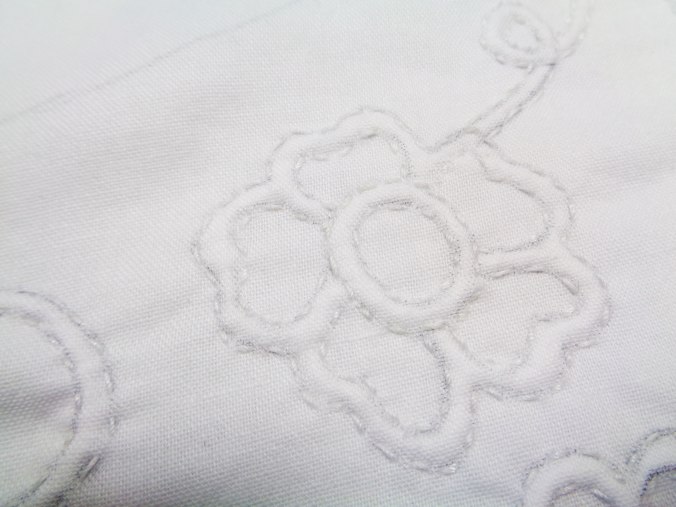 Despite the difference in lighting, the right side (stitched with the hoop) is DEFINITELY smoother and tighter.
For my next prototype, I am going to increase the complexity of the design and measure the fabric before vs after adding the Boutis design to get an idea of how much fabric is lost during the embellishment stage.
